ComfyUI for AI Video Generation: Complete Workflow Guide
If you want a repeatable comfyui video generation workflow that runs locally and produces usable image-to-video results, the key is getting four things right from the start: hardware, model placement, node compatibility, and export settings. Once those are locked in, ComfyUI becomes one of the most flexible ways to build AI video pipelines without relying on a hosted platform. You can swap models, save reusable graphs, test prompts fast, and iterate on motion with much more control than most one-click tools.
The practical advantage of ComfyUI is modularity. You are not stuck with one generation path. A simple graph can start with text prompts and render a short clip, while a more controlled graph can feed a still image into an image to video open source model, add motion conditioning, and export frames directly into FFmpeg for final assembly. That makes it ideal for product loops, cinematic b-roll, stylized motion shots, and short social clips where consistency matters more than raw novelty.
A good local setup also saves time over the long run. Instead of rebuilding settings every session, you can keep one base graph for text-to-video, another for image-to-video, and a third for upscale or interpolation passes. Once those templates are saved, most projects come down to changing the prompt, swapping the reference image, and adjusting a few motion settings. That is the real power of a reliable comfyui video generation workflow: repeatability.
There is also a huge difference between “it runs” and “it renders cleanly.” Blank frames, broken node links, out-of-memory crashes, and incompatible model files waste hours if the setup is sloppy. Clean folder structure, correct model types, a working FFmpeg install, and tested node packs matter just as much as prompt quality. If you have ever loaded a promising open source ai video generation model only to find that the workflow cannot see it or the VAE is wrong, you already know why setup discipline pays off.
The sections below cover the exact moving parts that matter most: minimum specs, node chains, model choices, quality improvements, optimization, troubleshooting, licensing, and export. The goal is simple: build a system you can rerun later with confidence, whether you are making stylized loops, realistic clips, or controlled motion from still images.
What You Need Before Starting a ComfyUI Video Generation Workflow
Hardware and VRAM recommendations
For local AI video work, GPU VRAM is the first hard limit. Minimum workable territory starts around 8 GB VRAM for very short clips, lower resolutions, and aggressive compromises such as fewer frames, smaller dimensions, and lighter models. Realistically, 12 GB VRAM is a more comfortable starting point for short image-to-video runs at modest resolutions like 512x512 or 576x1024, especially if you want to keep other apps closed and avoid constant memory errors. The sweet spot for regular work is 16 GB to 24 GB VRAM, where you can test more clips per session, use stronger models, and decode frames with fewer tricks. If you want longer clips, larger aspect ratios, or heavier transformer-based video models, 24 GB and up makes life much easier.
System RAM matters too. Treat 16 GB as the bare minimum and 32 GB as the practical baseline. If you are caching frames, running interpolation, or loading several models in one session, 64 GB is excellent. Storage is not optional overhead here. A single project can generate thousands of PNG frames, multiple test clips, model checkpoints, and versioned workflow files. Reserve at least 100 GB free for basic experimentation, and expect serious local setups to benefit from 1 TB or more of fast NVMe SSD storage. Disk speed affects load times, frame writing, cache handling, and FFmpeg assembly.
Core software, custom nodes, and model folders
Use a current ComfyUI build rather than an old random zip from months ago. Video support evolves quickly, and custom nodes often assume newer internals. Pair it with a clean Python environment that matches the install instructions for your chosen ComfyUI package. If you use a portable build, keep it isolated so one project’s dependency changes do not break another. For source installs, a dedicated virtual environment helps a lot when custom node requirements conflict.
FFmpeg is essential for turning frame sequences into actual video files. Install it system-wide or place the executable where your workflow or video combine nodes can access it. If FFmpeg is missing or not in path, you can render images successfully and still fail at the final export step.
Commonly used custom node packs for video workflows include managers for model loading, video assembly, frame interpolation support, and utility nodes for batching, latent handling, or image resizing. Install only the packs you need. Overloading ComfyUI with every trending node pack is one of the easiest ways to create version conflicts.
Folder organization matters because many workflows expect standard locations. Keep checkpoints in models/checkpoints, VAE files in models/vae, LoRAs in models/loras, CLIP or image encoders in their expected encoder folders, and dedicated video models in the locations required by the node pack that loads them. If a workflow cannot find a model, the problem is often the folder path, file naming, or the wrong loader node for that model family.
Most open source ai video generation model files are hosted on repositories such as Hugging Face, GitHub releases, or creator-maintained storage links. Before downloading, verify three things: the model architecture matches the workflow nodes, the required precision or format is supported by your GPU, and the workflow expects the exact model type you grabbed. A lot of failed setups come from mixing an image model with a video loader, using an unsupported quantized file, or skipping the matching VAE or text encoder.
How to Build a Basic ComfyUI Video Generation Workflow Step by Step
Text-to-video pipeline
A basic text-to-video chain in ComfyUI usually starts with prompt nodes, then moves into a model loader, conditioning, a sampler or video sampler, latent initialization, decoding, frame output, and a final video combine node. Keep the first version simple. Load the correct text encoder and model, enter your positive and negative prompts, generate an initial latent or sequence latent, sample the clip, decode the frames, then write either an image sequence or a direct MP4 through FFmpeg-capable nodes.
For starter settings, do not aim too high. Use 16 to 32 frames for your first successful render. Set FPS around 8 to 12 while testing. Resolution should stay modest: 512x512, 576x576, or a vertical format like 576x1024 if your GPU can hold it. Use a fixed seed at first so changes are easier to compare. Guidance around 5 to 8 is a useful starting range for many workflows, while denoise settings depend on whether you are starting from scratch or modifying an image. If the model exposes motion-specific strength, begin in a moderate range so motion exists without turning the scene into chaos.
Prompting also changes in video. Instead of cramming in style terms only, define one stable subject, one stable environment, and one camera action. For example: “close-up product shot of a matte black watch on reflective stone, soft rim light, slow dolly-in, subtle rotating reflections, realistic materials.” That gives the model motion direction and scene continuity rather than unrelated visual fragments.
Image-to-video pipeline
The image-to-video path is usually more controllable than text-only generation. Here the chain begins with an input image node, then an encoder or image conditioning node compatible with your chosen image to video open source model, followed by motion or temporal conditioning, sampling, decode, and export. If you already have a strong keyframe, concept frame, product render, or character still, this route often gives better identity retention and more usable shots.
A practical first-pass setup is 24 frames at 10 FPS from a 512px to 768px source image. Keep denoise or motion strength low to moderate if you want the original composition preserved. If the result feels frozen, increase motion strength slightly. If faces melt or the background drifts too much, reduce it. This one slider often decides whether the clip feels polished or unstable.
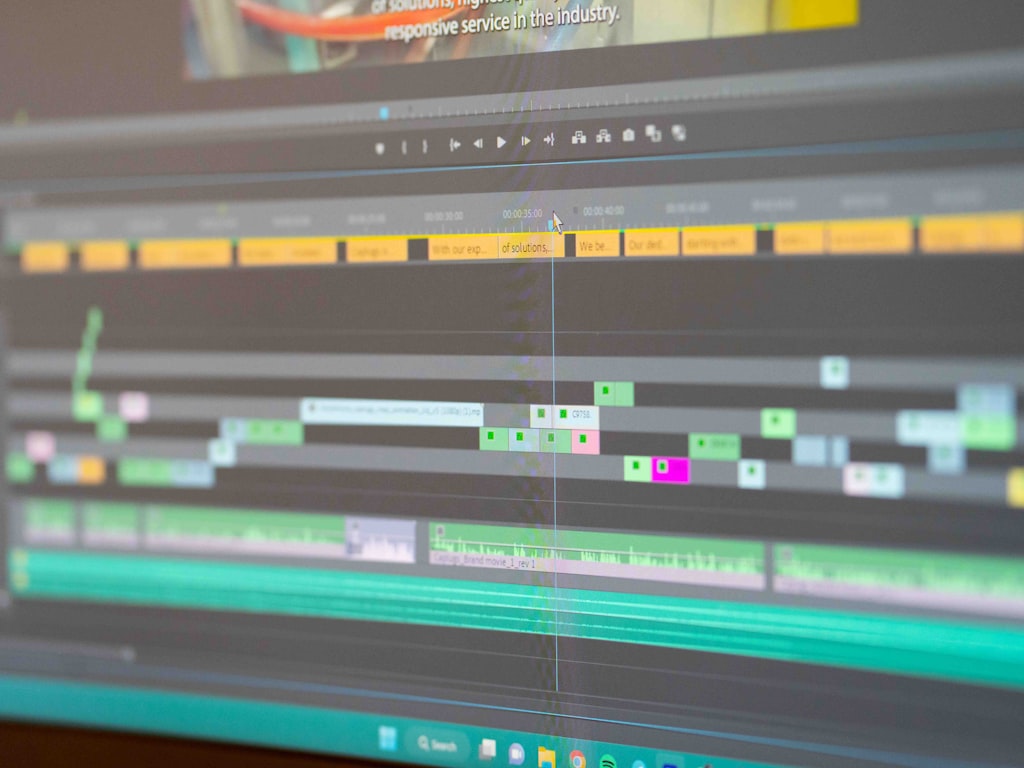
The essential node chain for a reusable comfyui video generation workflow is straightforward: prompt input or image input, model loader, conditioning, sampler, decode, frame save, video combine. Once this works once, save it immediately as a template. Keep one version labeled “T2V_base_test” and another labeled “I2V_base_test.” Then duplicate those for actual jobs instead of editing the originals. Add notes directly in the graph with reroute or text annotation nodes: model name, native resolution, preferred frame count, and the custom node pack version. That turns future troubleshooting from guesswork into a quick scan.
If you plan to reuse the workflow often, also save standard presets: a fast preview mode, a balanced mode, and a final render mode. Preview might be 16 frames at low resolution. Balanced might be 24 to 48 frames at standard output size. Final can add upscale, interpolation, and higher-quality encoding. That simple template strategy saves a huge amount of time once you start running multiple clips in the same style.
Best Open Source Models to Use in a ComfyUI Video Generation Workflow

Choosing a model by use case
Different model families excel at different jobs, and choosing the wrong one causes more frustration than bad prompts. For stylized animation, look for models tuned for painterly motion, anime aesthetics, or cel-shaded structure. These often tolerate simplified forms better and can produce smoother motion with fewer uncanny details. For realism, product shots, and cinematic clips, prioritize models known for temporal coherence, controlled camera movement, and stronger material rendering. Product videos especially benefit from models that keep edges, logos, and reflective surfaces stable across frames.
For social loops and stylized edits, a lighter image-to-video setup may outperform a heavier general model because control matters more than maximum complexity. If you already have the hero frame, an image to video open source model can animate it with less drift than a pure text pipeline. For exploratory concept clips where you want the model to invent both scene and motion, text-to-video or a larger open source transformer video model can be a better fit.
HappyHorse 1.0 and other open source transformer video model options
An open source transformer video model usually offers better long-range coherence and more sophisticated motion behavior than lightweight alternatives, but the tradeoff is heavier compute demand. These models are often the right pick for cinematic movement, multi-subject scenes, and clips where motion should evolve logically from frame to frame. The downside is obvious: more VRAM, longer runtimes, and stricter workflow compatibility.
The happyhorse 1.0 ai video generation model open source transformer is one of the options worth evaluating if you want transformer-style video generation inside a ComfyUI-based setup. The likely use cases are short cinematic clips, stylized realism, and prompt-led motion where temporal consistency matters more than raw generation speed. Setup considerations are the same as with most heavier video models: verify the exact loader nodes it needs, confirm whether it expects specific encoders or VAEs, and test at low frame counts first. Models in this class can produce strong results, but only if the graph matches the architecture and your GPU can actually sustain the workload.
Other open source ai video generation model options range from compact image-conditioned models for quick local animation all the way to larger transformer-based systems for more coherent sequences. The practical choice depends on your machine and output goal. If you have 8 GB to 12 GB VRAM, favor smaller image-conditioned workflows and short clips. If you have 16 GB to 24 GB or more, you can test larger video models and more ambitious resolutions.
A simple selection checklist helps before each render:
- Pick the base model by visual target: realism, anime, cinematic, product, or abstract.
- Decide whether text-only or image-conditioned generation fits the shot better.
- Add a LoRA only if it solves a specific need such as style, product identity, or character design.
- Match your prompt style to the model. Realistic models respond better to camera and lighting language; stylized models may respond better to art-direction terms.
- Confirm native resolution and preferred frame count.
- Run a cheap test clip before committing to a full render.
That process removes most of the random trial-and-error that slows down a comfyui video generation workflow.
How to Improve Quality, Motion, and Consistency in Your ComfyUI Video Generation Workflow
Prompting for stable motion
Stable motion starts with stable instructions. A strong prompt formula for video is: subject + environment + camera move + motion behavior + lighting + style constraints. Example: “young woman in red jacket standing on rainy neon street, medium shot, slow handheld push-in, slight head turn and blinking, wet pavement reflections, cinematic lighting, consistent face, stable background.” This works better than stacking disconnected descriptors because each part contributes to continuity.
To reduce motion artifacts, keep the action small and specific. “Subtle wind in hair” is easier to maintain than “dancing energetically in a chaotic crowd.” Likewise, “slow pan left” is safer than “wild spinning drone shot.” If the clip needs dramatic motion, build it in passes rather than forcing one short generation to do everything at once.
Upscaling, interpolation, and fixing flicker
Reference images are one of the best tools for consistency. If your workflow supports image conditioning, feed a strong base frame and keep denoise moderate. If ControlNet-style guidance is available in your setup, use edge, depth, pose, or composition guidance to lock important structure before asking for motion. This is especially useful for characters, products, and shots with architectural lines that tend to wobble.
Flicker usually comes from asking for too much change over too many frames. A practical fix is to shorten the clip, reduce denoise, and lower motion strength. Background drift often improves when the camera move is simplified and the composition is anchored by a reference image. Warped hands and facial instability can improve by reducing frame count, rendering a cleaner base clip, then extending or interpolating afterward rather than generating everything in one pass.
Multi-pass generation is often the difference between “interesting” and “usable.” A solid workflow is: first pass for motion and composition at modest resolution, second pass for upscale or detail recovery, third pass for interpolation if smoother motion is needed. If the first pass already flickers badly, do not waste time upscaling it. Fix the base motion first.
Post-processing matters. Frame interpolation can take a choppy 8 or 10 FPS test render and turn it into a smoother presentation without forcing the base model to generate every in-between frame itself. Upscaling can sharpen product surfaces, clothing textures, and environmental details, but apply it after you are satisfied with temporal stability. For final delivery, re-encode with FFmpeg using a clean codec profile rather than relying on whatever default settings a node happened to use.
One more practical trick: lock your seed during prompt refinement, then vary only one parameter at a time. Change prompt wording, then test. Change motion strength, then test. Change guidance, then test. This makes it obvious which setting improves continuity and which one breaks it. That kind of controlled iteration is what turns a rough local setup into a dependable comfyui video generation workflow.
How to Run an AI Video Model Locally with ComfyUI Without Wasting Time
Speed optimization tips
If your goal is to run ai video model locally without turning every session into a benchmark test, optimize for iteration speed first and final quality second. Start with low-resolution previews, short frame counts, and moderate FPS. A 16-frame clip at 512 resolution tells you whether the prompt and motion are working. A 64-frame full-quality render should only happen after the test clip looks right.
Batching strategy matters. Instead of launching one huge render, queue several small variations with different seeds or motion strengths. You will learn more from three cheap tests than one expensive mistake. Lower preview resolution while keeping the aspect ratio identical to the final target so composition decisions still transfer. If your nodes support tiled decoding or tiled VAE operations, use them when VRAM is tight. They are slower than full decode but often prevent outright crashes.
VRAM-saving settings can include reduced precision where supported, closing preview windows, disabling unnecessary live thumbnails, and unloading unused models between runs. Also keep your browser, game launcher, or other GPU-hungry apps closed. Local video generation punishes background GPU use more than still-image generation does.
Troubleshooting crashes, memory errors, and broken outputs
When ComfyUI freezes, the first suspects are VRAM exhaustion, a bad custom node update, or a mismatched model file. If a workflow suddenly breaks after installing new nodes, disable or remove the most recent additions first. If a model fails to load, verify the exact path, file format, and node compatibility. A checkpoint that works in an image graph is not automatically usable in a video loader.
Blank or corrupted frames often point to decode problems, VAE mismatches, unsupported latent formats, or FFmpeg export issues. If the image sequence looks fine but the video file is broken, the issue is probably the combine stage rather than generation. If both frames and video are wrong, inspect the decode node and model pair.
Common bottlenecks include slow disks when writing thousands of frames, missing FFmpeg binaries, mismatched node versions, and unsupported checkpoints downloaded from a model page without reading the requirements. Quick fixes are practical: move outputs to NVMe storage, confirm FFmpeg runs from command line, update only the node packs your workflow depends on, and test with a known-good sample workflow before blaming the model.
A reliable testing routine saves the most time:
- Load one known-good workflow.
- Render 8 to 16 frames at low resolution.
- Confirm frame output works.
- Confirm video combine works.
- Swap only one variable at a time: model, prompt, reference image, or motion setting.
That process is the fastest way to run ai video model locally without burning hours on preventable errors.
Licensing, Export Settings, and Real-World Output Checklist for a ComfyUI Video Generation Workflow
Checking whether an open source ai model license allows commercial use
Before using generated clips in client work, ads, storefronts, or monetized content, check whether the open source ai model license commercial use terms actually allow it. Do not assume “open source” means unrestricted commercial deployment. Some model licenses allow commercial use with attribution, some restrict usage above a revenue threshold, and some prohibit certain business cases entirely. Read the model card, repository license file, and any linked usage policy. If the model depends on another base model, check that license too, because downstream permissions may inherit restrictions.
Keep a simple license record for every project: model name, version, source URL, license type, and date downloaded. If you add a LoRA, note that separately. This is especially important if you are combining a base checkpoint with style LoRAs or motion adapters from different creators.
Export formats and delivery settings
For final export, MP4 with H.264 is still the safest general-purpose delivery format for web, clients, and social uploads. If your workflow outputs image sequences first, assemble them with FFmpeg and set the frame rate explicitly so playback matches the intended motion. Common FPS targets are 24 or 30 for standard delivery, though 12 to 16 can still work for stylized animation or interpolated clips. Bitrate should match complexity and destination platform; visually dense clips need more bitrate than flat animated scenes.
Aspect ratio should be chosen at the workflow stage, not patched at the end if possible. Useful standards include 16:9 for YouTube and web, 9:16 for vertical short-form, and 1:1 for square social posts. If the clip is intended to loop, test the first and last frames before export so the transition does not jump.
A clean pre-publish checklist helps keep production repeatable:
- Confirm commercial-use rights for every model and LoRA.
- Save the final prompt and negative prompt.
- Record the seed, frame count, FPS, resolution, and model version.
- Name files clearly, such as
project_shot03_i2v_v04_seed12345.mp4. - Archive the frame sequence if the clip may need a re-encode later.
- Save the exact ComfyUI graph used for the final render.
To package a finished workflow for later reuse, keep the JSON graph, a text file with model names and folder paths, the prompt block, and one reference image if the shot was image-conditioned. If possible, store a small preview output beside the graph so you know what the workflow is supposed to produce. That way, rerunning the project later only requires swapping the prompt or replacing the source image rather than rebuilding the entire setup from memory.
A dependable comfyui video generation workflow is not about chasing every new model release. It comes from picking a model that fits the shot, wiring a clean reusable graph, and refining quality, motion, and export settings in a controlled way. Once the base setup is stable, local AI video work becomes far more predictable: test cheap, lock what works, upscale only after motion is solid, and archive everything needed to rerun the job. That approach turns ComfyUI from an experiment box into a practical production tool for short-form AI video.