FP8 Quantization for Video Models: How to Reduce VRAM and Run Bigger Workloads Locally
If your video model keeps crashing on limited GPU memory, FP8 quantization can be one of the fastest ways to cut VRAM use enough to load, test, and serve larger pipelines. That matters a lot when you want to run ai video model locally instead of renting bigger hardware every time you move from short previews to real generations. On a modest card, the difference between “out of memory” and “usable” is often not a new GPU—it’s a better precision strategy.
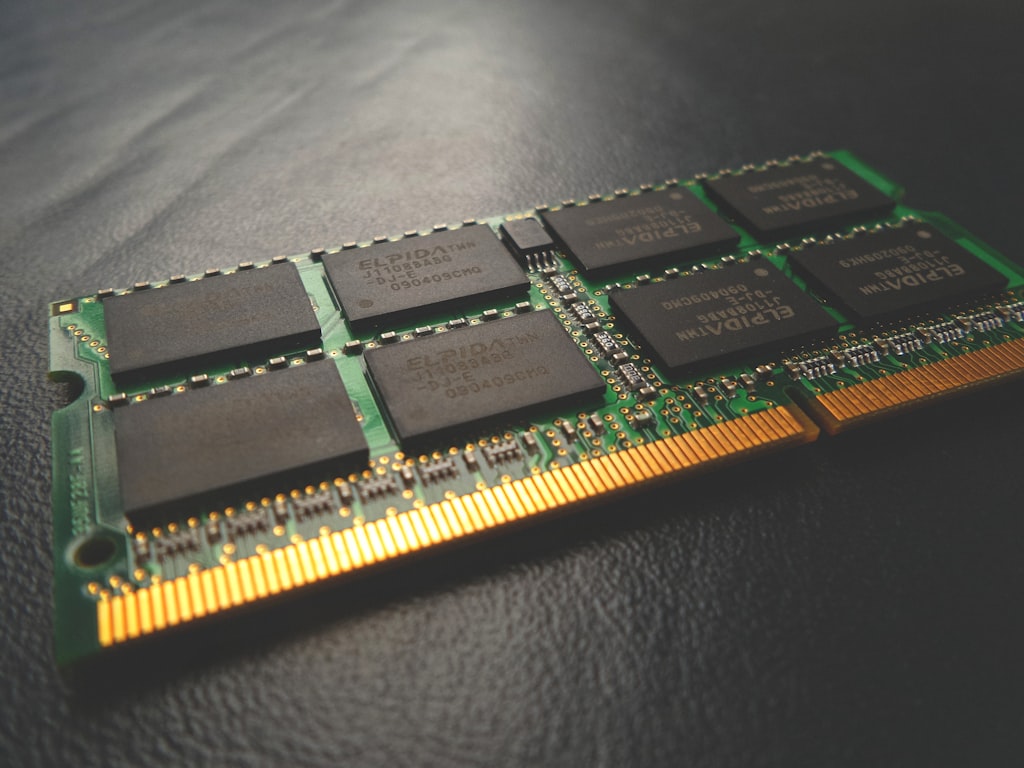
For local video work, VRAM disappears fast. A modern open source ai video generation model can stack a transformer backbone, text encoder, VAE, scheduler overhead, KV cache, and temporal context across many frames. If you are experimenting with an open source transformer video model, an image to video open source model, or something bigger like happyhorse 1.0 ai video generation model open source transformer, memory pressure shows up before you even get to quality tuning. FP8 is useful because it attacks that exact bottleneck first.
What fp8 quantization video model vram reduction actually means
Why FP8 matters for video pipelines
FP8 is a lower-precision numerical format that reduces how much memory model weights occupy in GPU VRAM. The practical takeaway is simple: in supported inference stacks, FP8 quantization can deliver about a 2x reduction in model memory requirements. That headline comes straight from the vLLM note, which states that FP8 allows “a 2x reduction in model memory requirements” and can also bring “up to a 1.6x improvement in throughput” in some deployments. If your current pipeline barely fails to load, that kind of reduction is often enough to make it usable.
Video pipelines benefit from this more than many image-only workflows because they usually combine several heavy pieces at once. A typical local setup may include a large diffusion transformer or autoregressive video backbone, one or more text encoders, a VAE, and extra buffers for frame history or temporal attention. Even before batching, those components compete for the same VRAM pool. Increase resolution, frame count, or sequence length, and the pressure rises sharply. That is why fp8 quantization video model vram savings tend to feel more dramatic in video than in single-image generation.
There is also a throughput angle, but it needs the right expectations. In supported serving environments, FP8 can improve throughput by up to 1.6x. That is useful when you are not just trying to squeeze a model onto one card, but also trying to serve more requests or process more experiments per hour. For a local workstation, though, raw speed gains can be smaller. The exact loader, node path, quantized checkpoint format, and GPU architecture all affect whether FP8 feels faster, equal, or only marginally better than FP16.
How FP8 differs from FP16 in practical VRAM terms
Compared with FP16, FP8 mainly buys you memory headroom and better cost/performance, not guaranteed dramatic acceleration on every desktop rig. FP16 remains the safer default for broad compatibility and often preserves quality more reliably. FP8 lowers the weight precision, so the biggest immediate win is that model components take up less space in VRAM. That can free enough memory to raise output resolution, extend sequence length, keep more frames in context, or avoid aggressive offloading.
The Framia guide frames FP8 as “reduced memory footprint without major quality loss,” and that matches real-world use when the stack is well supported. But local users know the other half of the story: quality and speed depend on implementation details. A supported backend may show clear memory savings and decent throughput gains, while a hobbyist workflow in a UI may mostly just create enough breathing room to finish the run.
That is still a big win. For video generation, fitting the model is often the hardest step. Once FP8 gets you over that threshold, you can make smarter tradeoffs elsewhere instead of immediately dropping to tiny frame counts or unusably low preview resolutions.
When to use fp8 quantization video model vram savings instead of FP16
Best cases for switching to FP8
Use FP8 when VRAM is the actual blocker. If the model does not fit, if you want to increase resolution or sequence length, or if you need extra room for batch size, sampler overhead, or temporal buffers, FP8 is usually the first lever worth pulling. This is especially true when you are tuning an open source ai video generation model locally and every extra gigabyte determines whether the workflow is stable or crashes at load.
One of the clearest practical examples comes from a user report on Flux Dev: “Using the fp8 Clip uses 4.5 Gig of Vram instead of 9.1 Gigs, and it was faster.” That is a huge cut from a single component. It also shows an important pattern—sometimes you do not need to quantize the entire pipeline. If one memory-hungry encoder is the reason your job fails, quantizing that part can make the whole workflow viable without touching the rest of the stack.
FP8 also makes sense for preview passes and iterative testing. If you are trying prompt variants, motion settings, camera moves, or adapter mixes, memory efficiency often matters more than preserving every last bit of detail. The lighter precision path can let you get more experiments done before you commit to a final render setup. That workflow is especially helpful when you run ai video model locally on 12GB or 16GB cards and need a “fast enough to test, good enough to evaluate” mode.
When FP16 is still the better choice
FP16 is still the better choice when the model already fits comfortably and output quality matters more than squeezing memory. A user with a 5070 12GB reported Flux Dev running in fp16 under ComfyUI, generating 1024 output in 38 seconds, with batch generation dropping to 30 seconds per image. In that same discussion, fp8_e4mn3fn was described as noticeably worse in quality with only about a 3-second runtime difference. That is exactly why FP8 should not be your automatic default.
If your GPU can already handle the workload, switching to FP8 may create quality tradeoffs that are not worth the modest gains. For creative video generation, this matters even more than for still images. Tiny quality losses can become visible as temporal instability, flicker, weak prompt adherence across frames, or odd artifacts that accumulate over time.
The safest decision rule is to compare side by side. Test output quality, generation time, and peak VRAM with the same prompt, seed, frame count, and resolution before converting an entire pipeline. If FP16 fits and looks clearly better, keep it for finals. If FP8 is the only way to fit the job—or gives enough headroom to hit your target settings—then it becomes the smarter tool.
How to apply fp8 quantization video model vram optimization in real workflows
Quantize the whole model vs specific components
You do not always need full-model FP8. In many real workflows, quantizing high-memory components such as text encoders or CLIP can produce meaningful VRAM savings while preserving more quality elsewhere. The Flux example is the best proof point here: FP8 CLIP dropped VRAM from 9.1GB to 4.5GB and also ran faster. That is not a subtle optimization. It is the kind of change that can turn a failing workflow into a usable one.
For video pipelines, the most expensive parts are often not equal in how much they affect visible output. If one text encoder, conditioning module, or auxiliary transformer consumes a large chunk of VRAM, start there. Keep the core denoiser or video transformer in FP16 if that gives cleaner temporal results. This selective approach is often better than forcing every submodule into lower precision on day one.
That strategy also helps when you are testing multiple model families. Maybe one image to video open source model behaves fine with aggressive quantization, while a larger open source transformer video model gets unstable or loses detail. By quantizing components instead of everything at once, you can isolate where the real memory pressure lives.
Loader and pipeline choices that change results
The loading path matters more than people expect. Memory and performance can change depending on whether the workflow uses a checkpoint loader versus a dedicated diffusion model loader. One user only understood their mixed results after realizing they had loaded the “checkpoint” node instead of “Load diffusion model” in ComfyUI. That means your numbers are not just about FP8 versus FP16—they are also about how the UI or inference stack instantiates and manages the model.
A good optimization order keeps you from wasting time. First, swap in FP8-compatible weights and confirm the stack actually loads them. Second, measure peak VRAM during model load and generation. Third, test component-level quantization for the biggest modules. Only after that should you reduce resolution, frame count, or temporal context. If you cut output settings too early, you may hide a loading issue that FP8 could have solved.
For local setups, always validate that the model is truly running in FP8 rather than silently falling back to another precision. Check logs, watch memory use, and compare load behavior. Then inspect generation quality after every change. If a workflow suddenly fits but temporal consistency collapses, you found a precision limit rather than a general win. The best fp8 quantization video model vram optimization is not the most aggressive one; it is the lightest change that makes the pipeline stable and useful.
Hardware compatibility for fp8 quantization video model vram planning
Which GPUs benefit most from FP8
Hardware generation affects whether FP8 runs natively or through quantized workflows. Newer accelerators and supported inference stacks are generally better positioned to exploit FP8 efficiently, especially when the backend is designed around low-precision serving. That is where claims like 2x lower memory use and up to 1.6x higher throughput are most likely to show up in practice.
On local rigs, you need to separate two ideas: “FP8 model support” and “native FP8 hardware behavior.” Some workflows can load quantized weights and still help you save VRAM even if your card is not a perfect native FP8 machine. That distinction matters when you are planning around a consumer GPU and trying to figure out whether an FP8 checkpoint is worth downloading.
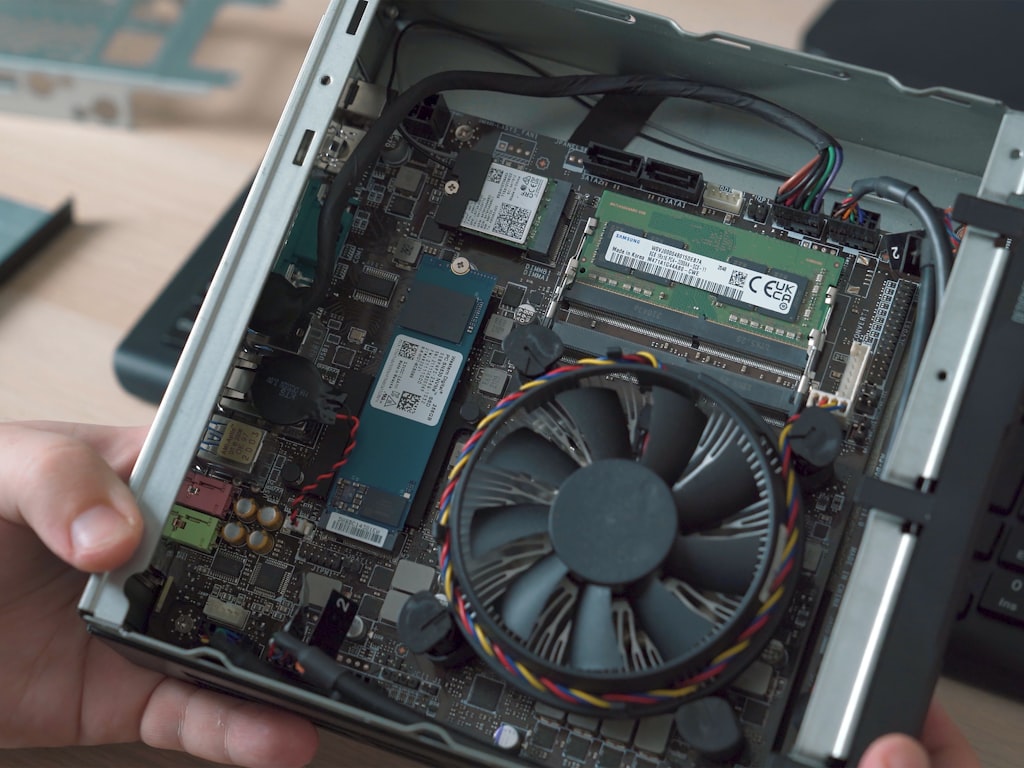
VRAM tier still matters just as much as precision. A 12GB card can run selected local workflows with careful loading and quantization, and the LongCat FP8 workflow specifically angles toward memory-efficient long-video generation on just 12GB VRAM by moving inactive blocks out of GPU memory. But very large video models can still overrun that budget even with aggressive optimization. Precision is powerful, not magical.
What to do on older NVIDIA cards
Older NVIDIA cards need more realistic planning. A useful research note from user discussion says that “a 30 series NVIDIA GPU cannot use FP8 without quantization, thus E4M3 model is recommended.” The key point is that some 30-series cards may not directly use FP8 in the same way newer accelerators can, so you should look for quantized variants and workflows designed around that limitation rather than expecting native-style behavior.
If you are on a 30-series card, start by testing E4M3-style variants where available, confirm your loader supports them, and monitor whether the model is actually reducing memory use. Do not assume every “FP8” label means the same thing. Some files are optimized for a specific backend, while others only make sense with a certain node or runtime.
Also be honest about model scale. There are checkpoints so large that quantization alone will not rescue them. One cautionary example from the research notes is blunt: “Hunyan3 is so large that even a fp4 version with just a single block at a time in VRAM would require more than 16GB of VRAM to run.” If something that large still blows past 16GB under extremely aggressive settings, the answer is not to keep forcing FP8 harder. At that point, you need offloading, a smaller checkpoint, or a different model family altogether.
Extra ways to reduce fp8 quantization video model vram pressure

Offloading inactive blocks to system RAM
Quantization is only one lever for video workflows. Offloading inactive model blocks to system RAM can further reduce GPU memory pressure and make longer generations possible on smaller GPUs. This is especially useful in long-video pipelines where not every block needs to stay resident in VRAM at the same time. If your software supports staged loading or block swapping, combine it with FP8 before you start sacrificing resolution.
The LongCat FP8 workflow is a good example of this approach. It specifically pushes “memory-efficient long video generation” on “just 12GB VRAM” by moving inactive blocks out of GPU memory into system RAM. That does not mean every model suddenly becomes lightweight, but it does show how stacking techniques can unlock jobs that would otherwise fail on consumer cards.
The tradeoff is straightforward: offloading usually improves fit more than speed. System RAM is slower than VRAM, so heavily offloaded workflows tend to generate more slowly even when they finally stop crashing. For testing long sequences, though, that can still be the right move. A slow successful run beats an instant out-of-memory error.
Other VRAM-saving levers that stack with FP8
A practical memory-saving checklist works best when you apply the least destructive changes first. Start by reducing frame count during testing. A short preview clip gives you motion and style feedback without paying the full temporal memory cost. Next, lower resolution for previews, especially if you are still tuning prompts, camera motion, or adapters. Then quantize only the largest components first, because targeted changes often preserve quality better than full-pipeline compression.
After that, use CPU or system RAM offload wherever the stack supports it. This combination—FP8 plus selective offload—often gives more real-world room than trying to drop everything to the smallest precision available. It also works well when testing an open source ai model license commercial use workflow, because you can evaluate feasibility on local hardware before deciding whether the model is practical for production or client-facing serving.
The main thing to remember is that these techniques stack, but they do not stack equally on speed. Lower precision may help throughput in the right environment, while offloading usually costs runtime. Lowering frame count and preview resolution saves memory immediately but can hide quality issues that only show up at final settings. Treat them as deliberate tools: use the fastest, least quality-damaging option that gets the job done, then reintroduce quality where it matters.
Best-practice checklist to test fp8 quantization video model vram gains without losing too much quality

A simple benchmarking workflow
The cleanest way to evaluate precision is to benchmark three setups: FP16 baseline, component-level FP8, and broader FP8. Keep the prompt, seed, resolution, frame count, sampler, and steps identical. Record peak VRAM, generation time, and any loading quirks. If your UI reports memory inconsistently, use the same external monitor every run so your comparisons stay fair.
Do not stop at speed. Check detail retention in key frames, prompt adherence, temporal stability, and artifact levels across the whole clip. Some local users have reported noticeable quality differences with limited runtime advantage, so your benchmark should include visual review, not just stopwatch numbers. For video, watch for drifting textures, facial instability, edge shimmer, and motion coherence from start to finish.
A good test sequence is simple. First, run FP16 if it fits. That gives you the quality reference. Second, switch only the heaviest component—often CLIP or another text-conditioning block—to FP8 and compare. Third, test a wider FP8 setup if you still need more headroom. This progression mirrors real troubleshooting and prevents you from blaming FP8 generally when only one submodule or loader path is the issue.
How to choose the final precision setup
Choose the lightest precision setting that meets the project goal. If you are doing final renders, client work, or anything where visual quality has priority, stick with FP16 whenever it comfortably fits. If you are prototyping, batch experimenting, building previews, or trying to serve more efficiently, more aggressive FP8 settings make a lot of sense. That is where fp8 quantization video model vram gains pay off hardest.
A simple decision matrix helps. If the model already fits comfortably and quality matters most, stay on FP16. If VRAM is tight but the pipeline still loads, try component-level FP8 first. If VRAM is the main bottleneck and you need to increase resolution, frame count, or context length, move to broader FP8 and add selective offloading. If the model still fails even then, stop and switch strategy: smaller checkpoints, alternate model families, or workflows built specifically for lower-memory cards.
This process also helps when comparing different model classes. A lighter open source ai video generation model may only need CLIP quantization to become practical. A heavier happyhorse 1.0 ai video generation model open source transformer setup may need broader precision changes plus offloading. A large image to video open source model may fit for short previews but not full-length renders. Benchmark first, then lock in the precision profile that matches the actual use case rather than the most aggressive setting available.
Conclusion

FP8 works best as a practical VRAM-saving tool, not a magic quality-free speed boost. Its biggest advantage is making larger video pipelines fit: cutting memory footprint, creating headroom for longer sequences or higher resolution, and sometimes improving throughput in the right stack. The strongest real-world results come from using it surgically—quantizing the heaviest components first, validating the exact loader path, and pairing it with offloading when VRAM is still tight.
If your current workflow crashes before it even starts, FP8 is one of the fastest fixes worth trying. If the model already fits and the look is dialed in, FP16 may still be the better final-render choice. The sweet spot is usually somewhere in between: hardware-aware settings, selective quantization, and a benchmarked workflow that proves what actually helps on your card. That is how you reduce VRAM pressure, run bigger workloads locally, and keep your video pipeline usable without blindly trading away quality.